Aggregated Payments
Use API or embedded fields to support aggregated purchases.
Maast's aggregated payments feature helps you provide an aggregated purchase experience for your marketplace. Use our API or embedded fields to verify cardholder data on behalf of your merchants and submit individual transactions. Maast underwrites each merchant and manages fund transfers to each merchant. This way, you can avoid the hassle of becoming a credit card brand's payment facilitator or a marketplace, taking advantage of our system to provide the same experience.
Using aggregated payments provides these benefits:
- Accessible - Easily initiate merchant account applications and manage merchant data via API or the Maast partner portal.
- Transparent - Integrate with our Reporting API resource to send transaction and deposit history to your merchants.
- Fully customized - Maintain your branding and complete control over the payment experience.
- Secure - Maast is a PCI DSS certified Level 1 compliant Service Provider.
How It Works
Below is the workflow for aggregated payments:
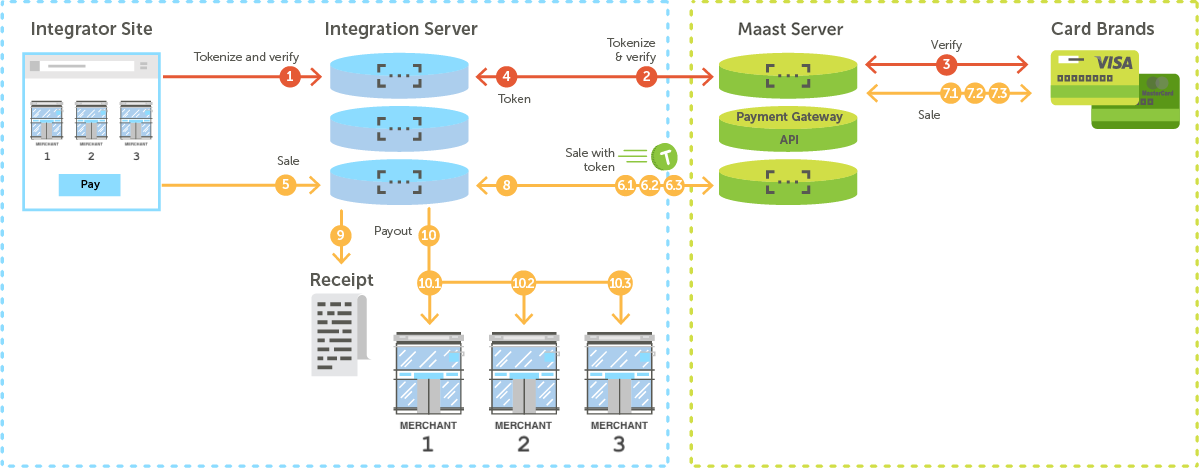
Verify and tokenize
- The buyer adds items from multiple vendors to the shopping cart on the integrator or marketplace site.
- You (the integrator) send a 'Verify' and 'Tokenize' request with cardholder data via either the Payment Gateway API or embedded fields.
- Maast sends the cardholder data to the card brands to complete verification.
- Upon positive verification, Maast generates and returns a token (card ID) that you can use to complete the purchase for each merchant.
Authorize and complete payment
- The buyer selects 'Pay' on the integrator site.
- You use the card ID and send one or more 'Sale' requests (6.1, 6.2, 6.3) to the Payment Gateway API for each merchant included in the purchase.
- Maast sends each 'Sale' request (7.1, 7.2, 7.3) with cardholder data to the card brands for authorization, and it receives approval(s) or decline(s).
- The response or responses are sent back to the integration server.
- You combine the 'Sale' response(s) and present a receipt to the buyer.
- Maast funds each merchant's account (10.1, 10.2, 10.3).
Prerequisites
- Follow the steps in Create a Sandbox Account to sign up and create passwords for the following:
- a partner sandbox account, and
- a merchant sandbox account.
- See Get Your API Credentials to save the following:
- the vendor ID and API key for your partner sandbox account, and
- the merchant ID (MID) for your merchant sandbox account.
- Follow the steps in Authentication to format your credentials and generate your API token.
- Contact Maast Support for vendor account permissions to use the Payment Gateway API on behalf of your merchant sandbox account.
Integrate Payments
You can integrate directly with either our Payment Gateway API or embedded fields:
- Payment Gateway API - See our API reference to write a Verify request. If this is your first time using Maast API, see our API Quick Start guide.
- Embedded fields - See the Embedded Payments guide to embed fields in your online or mobile application.
Test and Go Live
Follow the steps in our Test and Go Live guide for the integration method of your choice (API or embedded fields) to perform recommended tests, apply for a production account, and update your integration to go live.
Add Merchants
Once you have gone to production, each merchant in your marketplace applies for their own Maast merchant account. You can then use their assigned merchant ID (MID) to process transactions on their behalf.
To board a new merchant, you can generate an application either by API or through the Maast partner portal:
Add Merchants via Portal
The easiest way to generate a merchant account application is through the Maast partner portal. To board a merchant through the portal, follow the steps below:
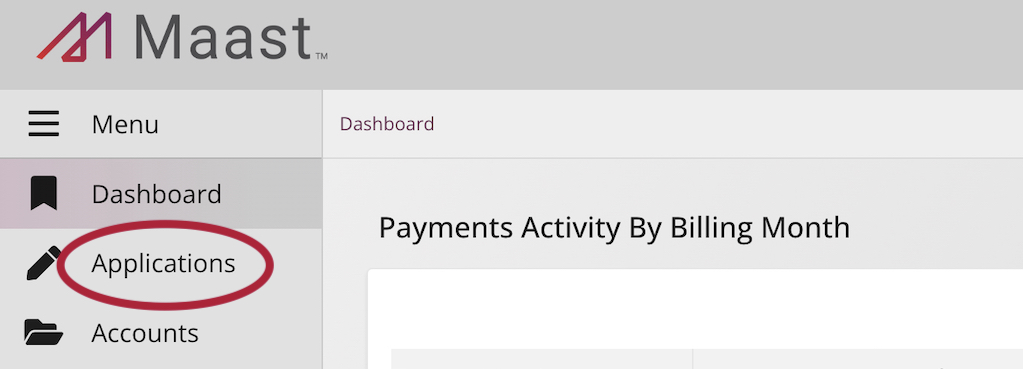
- Sign in to your Maast partner portal and select 'Applications' in the left-hand menu:
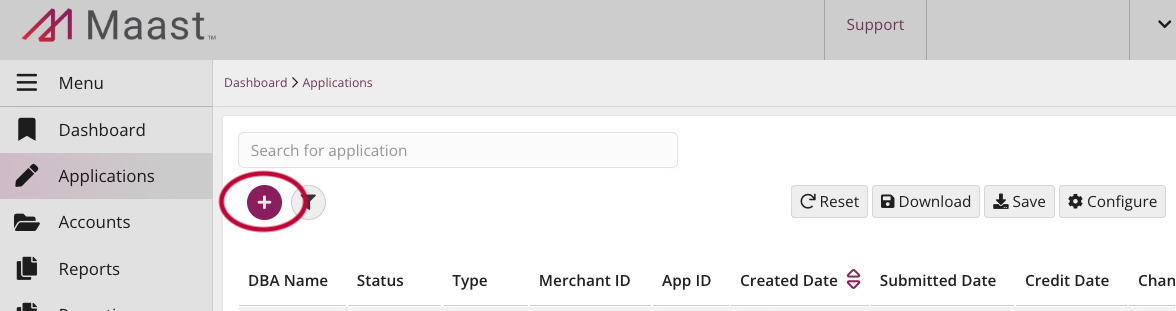
- Select the '+' button in the top left:
- A pop-up window will appear to start a merchant application. Select a sales channel:
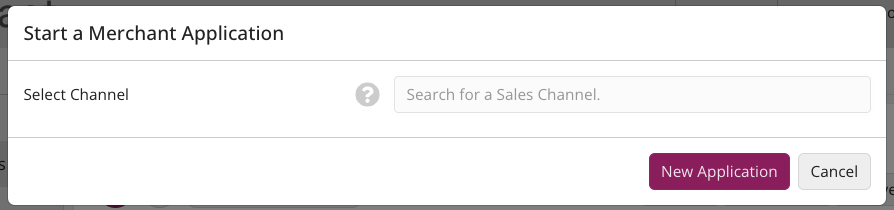
- Fill in the prompts that appear and select 'New Application':

- This generates a merchant application. Prefill the application by providing the requested information:
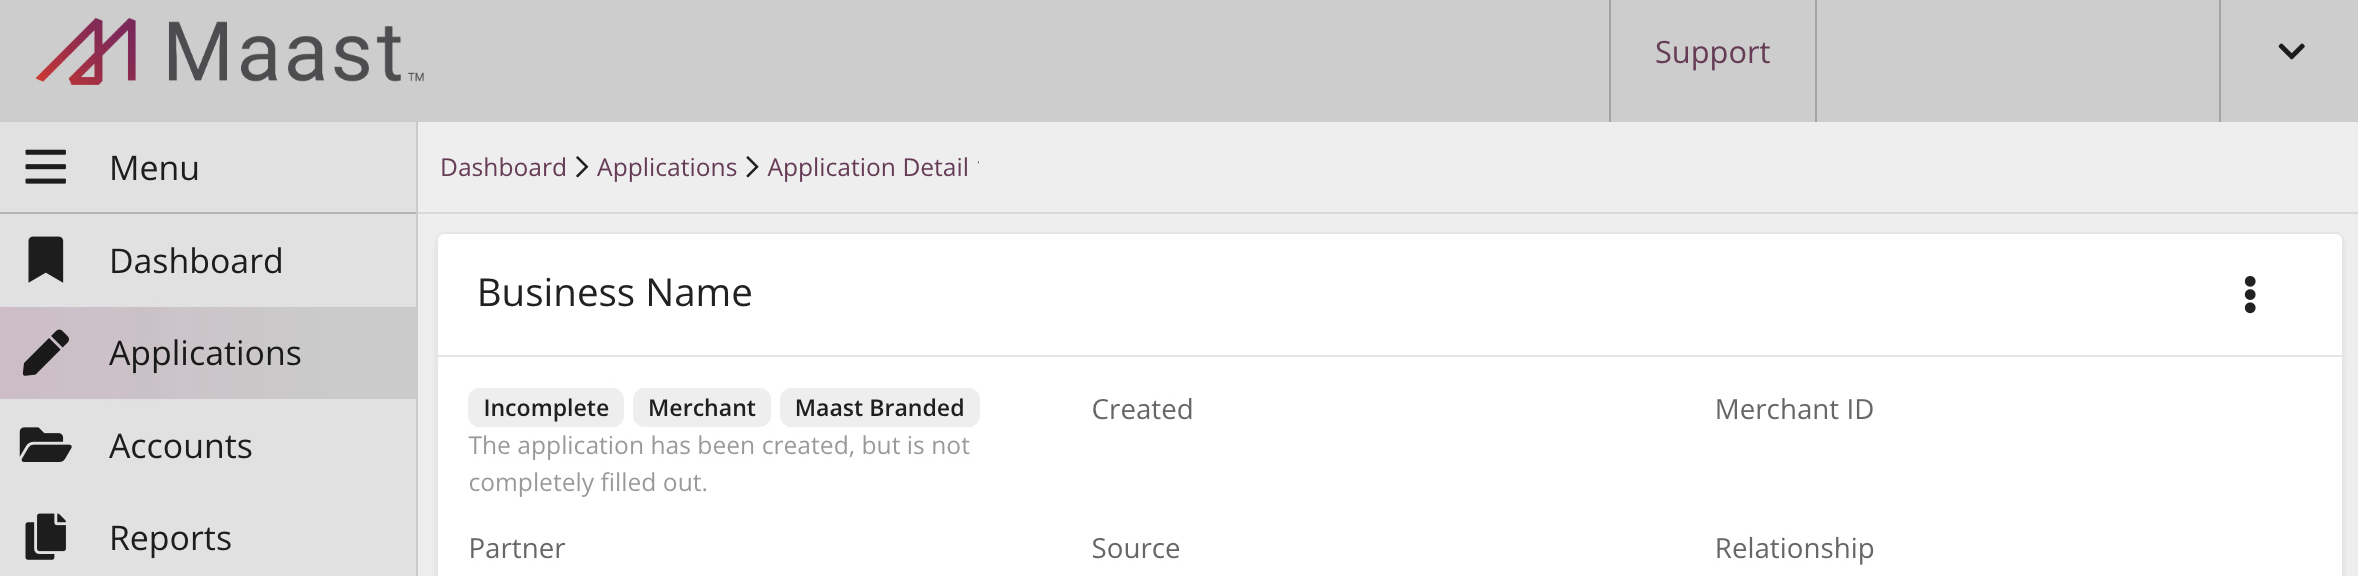
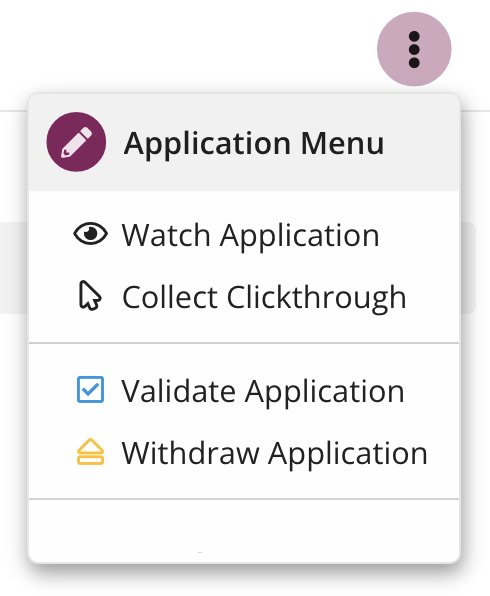
- Select the three vertical dots in the top right of the application to access the application menu. Here, you can email the application to collect the clickthrough. You can also choose to watch, validate, or withdraw the application:
Add Merchants via API
To create your own onboarding experience, make use of our Application Boarding API resource. To board a merchant by API, do the following:
- Perform the tasks in the Application Boarding Create Application guide to generate an application for a merchant account.
- Use the Application Boarding guide and Application Boarding API reference to prefill, email, and manage the new application.
- Either you or our sales team can work with the applicant to complete and submit the application.
Please contact Maast Support for further guidance if you intend to board merchants via API.
Start Transacting
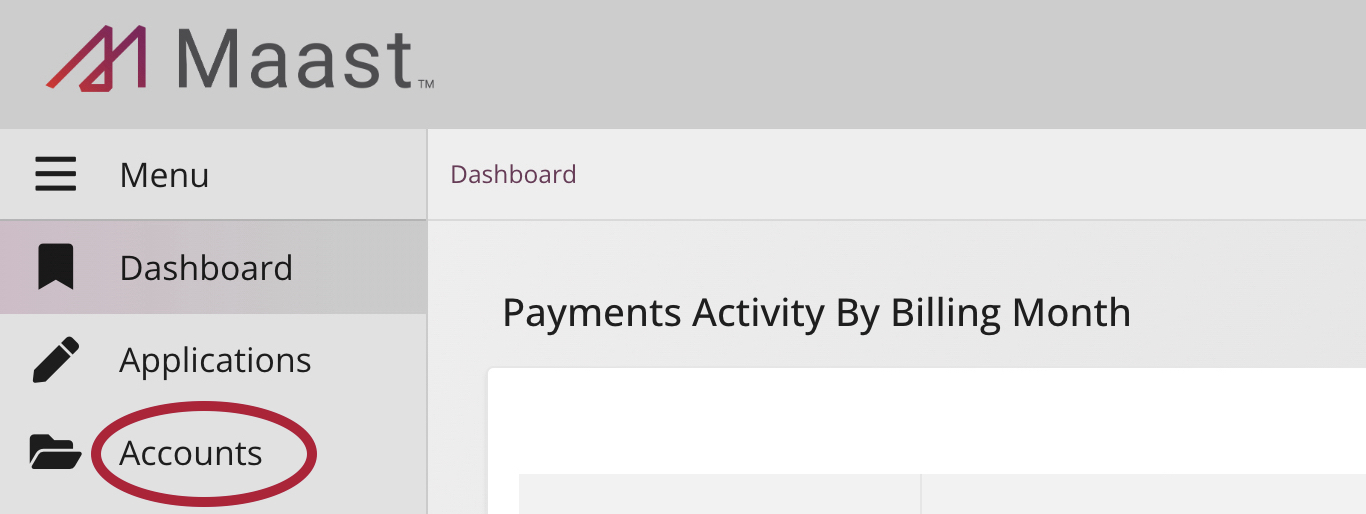
Once your merchant's application has been approved, find their merchant ID (MID) in your Maast partner portal by selecting 'Accounts' in the left-hand menu:
Using the MID and your integrated payment method from above, perform a verify transaction on behalf of your merchant to verify credit card details with the issuing bank. We especially recommend a verify transaction if your software application groups different merchants' products or services at checkout.
Updated over 1 year ago